 Click here to learn about and purchase Bare-Metal® Foil Click here to learn about and purchase Bare-Metal® Foil
 Click here to read about and purchase the Bare-Metal® Panel Scriber Click here to read about and purchase the Bare-Metal® Panel Scriber
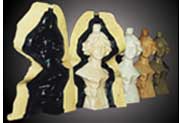 Click here for Polytek® Mold Making Rubber Compounds Click here for Polytek® Mold Making Rubber Compounds
 Click here for Hyperlast® Polyurethane Casting Resin Click here for Hyperlast® Polyurethane Casting Resin
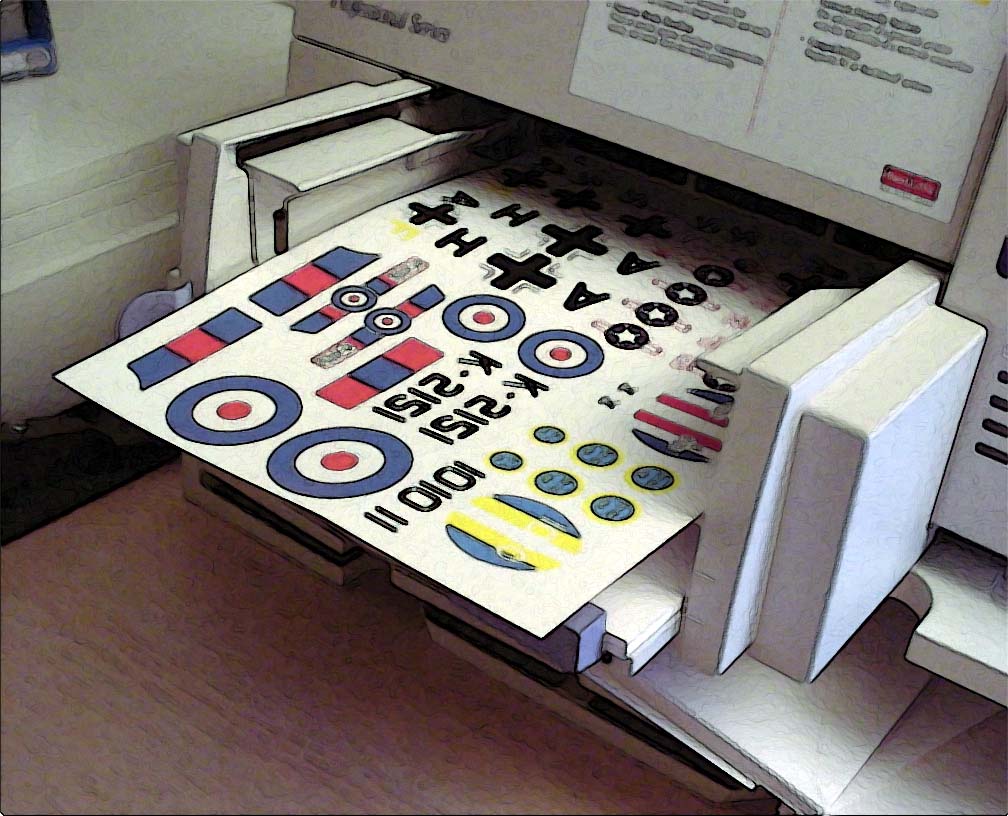 Click here learn about purchase Experts-Choice® Decal Film Click here learn about purchase Experts-Choice® Decal Film
|
Introduction - 1 - 2 - 3 - 4 - 5
-
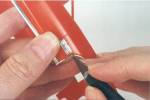
22 Emblems and scripts are next. On big separate letters, like the G-T-O on this Monogram (1969) kit, cover them with one piece of Foil, then trim the Foil away from the letters, one letter at a time. I trim things like the middle of the "O" and the "G" first as if these don't come out right, just lift the Foil (a piece of masking will usually easily do the job) and start again. Smaller letters are much harder to cover, as, again, there is not much surface for the Foil to get a grip on.
|
|
-
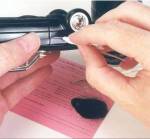
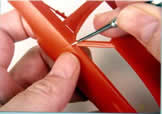
#23 Scripts like this, cover the molding, then trim the Foil around the outside edges. Carefully paint in all the areas of the script that should be body color (using the same paint used on the body, here I sprayed out some of the black on a card and brushed it on). Let the paint dry, wrap a piece of paper towel around a flat toothpick and apply a drop of thinner to the tip. Then go over the script, being VERY CAREFUL to not touch the body with the paper towel as the thinner will harm the painted surface. Rub the paint carefully off the raised areas of the Bare-Metal Foil. This will leave the body color paint in the low areas, giving you a very realistic script, without a great deal of effort.
|
|
-
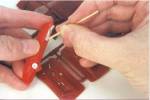
#24 Interior parts need to be covered in Bare-Metal Foil too, especially door handles, window cranks, trim, and the like. Dash boards also need this dressing up, especially on models of 1950s cars, like this dash for a 1957 Chevy. If the instrument is in a deep bezel, you may need to cover the instrument face first, then cover the bezel. I finish the gauges with a bit of black wash from The Detailer
|
|
-
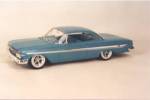
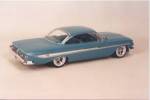
#25 This mild custom Lindberg 1961 Chevy hardtop had the chrome side trim masked off with Bare-Metal Foil before painting, leaving the white plastic to give the finished model a two-tone effect with very little effort.
|
|
-
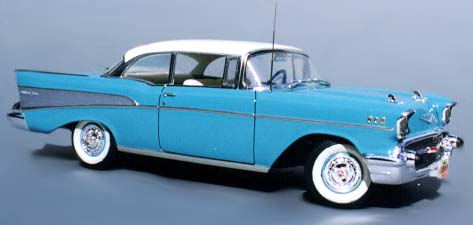
#26 While trim moldings around the trunk area may look difficult to cover, they are really quite easy. There are few pieces of trim that can't be covered if the desire and patience is there. Quite a bit of Bare-Metal Foil was used on this interior, including the center of the steering wheel.
|
|
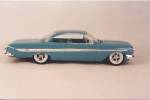
- #27 Even a mild custom like this benefits from Bare-Metal Foil as while the door handles were removed, the chrome trim distinguished the car, and the model, and Bare-Metal Foil is the finishing touch to exacting realism in a scale model.
|
|
Introduction - 1 - 2 - 3 - 4 - 5
105 How To Use Bare-Metal® Handbook $2.50
|
|
|
 |