 |
|||||||||||||||||||
|
Part Two of a Two Part Article fromModeler's Resource Magazine
|
||||||||||||||||||


|
|
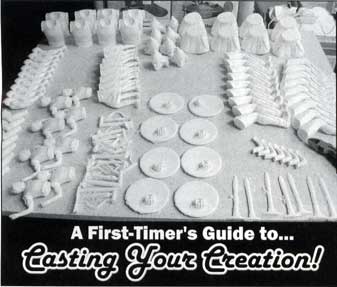
All right, you're still with us after going through all the steps
in the process that were highlighted in the previous article.
You'll recall that you learned how to create the molds for
your original kit in preparation of actually casting individual
pieces so you can get the model out there to the buying public!
I learned a great deal under the tutelage of Dave Bengel and for anyone who would seriously like to learn this process, it's best to learn as an apprentice from someone else who knows.
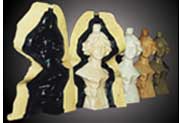
There are many ways to mold a kit and sometimes the combinations of how the pieces should be grouped can be legion, or so it may seem. It's really six of one and half a dozen of another. When we were going through the process, it reminded me a bit like a high stakes game of chess. Dave would sit and stare at the pieces for quite some time, running through a variety of scenarios in his head before deciding on the best course of action to take. Even after the process (including the casting) was done, Dave said there were a few things that could have been done differently. Casting is not necessarily an exact science, but the more you know and more experience you have, the better off you are as you approach your project.
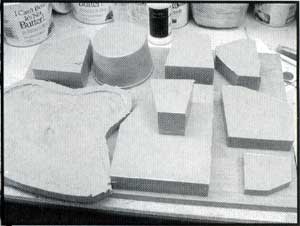
The first thing you will need to do once you've created molds
is to make the things that will hold the molds together snugly.
The last thing you want is for the resin to leak out all over the
place or for the mold halves to slip a bit. Either way, your
part will be ruined and then you would need to start over.
 |
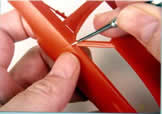
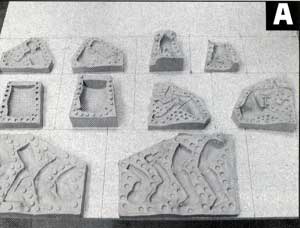
You'll note in photo A that all the individual mold halves are lined up across the face of particleboard. Particleboard is nice and smooth, easy to cut and relatively flat. You'll want to make sure that the lines you draw around each mold half is larger than the actual mold half itself because you'll be drilling holes in the wood.
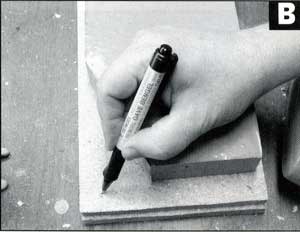
Once the pieces of wood are cut, you'll want to place one on top of the other, then place the mold halt in the middle. From here, make marks on the four corners, photo B. These holes will be drilled all the way through both pieces of wood and then we'll use bolts and nuts to hold the pieces of wood together with the mold inside. As an aside, you can also use heavy-duty rubber bands instead of bolts and nuts. It's your preference and points can be made for either; it comes down to the choice of the person doing the casting.
Bare-Metal would like to thank Fred DeRuvo at Modeler's Resource Magazine for allowing us to share this material with our visitors. Images and text Copyright © 2002 Adroit Publications.
.| Home | Bare Metal Foil | Molding Materials | Casting Resins | Starter Kit | Decals Items | Specialty Items |
| Forum | Links | Customer Service | About Us | Contact | Privacy Policy | Site Map |